Using an Outdoor Sauna in Winter: A Complete Guide
Table of Contents
- Why an Outdoor Sauna Shines in Winter
- Pre-Heating Protocols for Sub-Zero Temperatures
- Optimizing Heat Retention in Your Outdoor Sauna in Winter
- Sauna Session Duration for Beginners: What to Expect
- The Benefits of Home Infrared Sauna Therapy in Cold Weather
- Managing Snow Load and Structural Integrity
- Essential Outdoor Sauna Winter Maintenance Tips
- Post-Sauna Rituals: Cold Plunges and Recovery
- Frequently Asked Questions
Last Updated: September 7, 2026
Why an Outdoor Sauna Shines in Winter
Using an outdoor sauna in winter transforms the coldest months into something to look forward to. There is magic in stepping from a snow-covered yard into a warm, cedar-scented room while the temperature dips below freezing. We help homeowners create these year-round retreats, and the key to enjoying them fully lies in preparation.

The contrast between cold air and intense heat is what makes the experience restorative. Many find a winter session more invigorating than summer heat, as the body works harder to regulate its core temperature. Regular use is associated with relaxation and a calm that lingers after you towel off.
Pre-Heating Protocols for Sub-Zero Temperatures
When temperatures drop well below freezing, your sauna needs more time to reach ideal heat. In sub-zero conditions, the thermal mass of the structure is cold, so the wood, benches, and stones must absorb heat before the air temperature stabilizes (energy.gov).
Start by extending your pre-heating time by roughly 50 percent. If your sauna typically takes 45 minutes to reach temperature in moderate weather, plan for 60 to 75 minutes on a frigid day. This is especially true for wood-burning heaters, which require a longer burn to bring the entire space up to warmth. For electric models, simply turning the unit on earlier is usually sufficient.

A practical approach is to set a timer or use a smart plug to start the heating process before you head outside. This way, the sauna is ready when you are, and you avoid the frustration of stepping into a lukewarm room. Checking the built-in thermometer before entering ensures the heat has fully penetrated the space, not just the air near the ceiling.
Optimizing Heat Retention in Your Outdoor Sauna in Winter
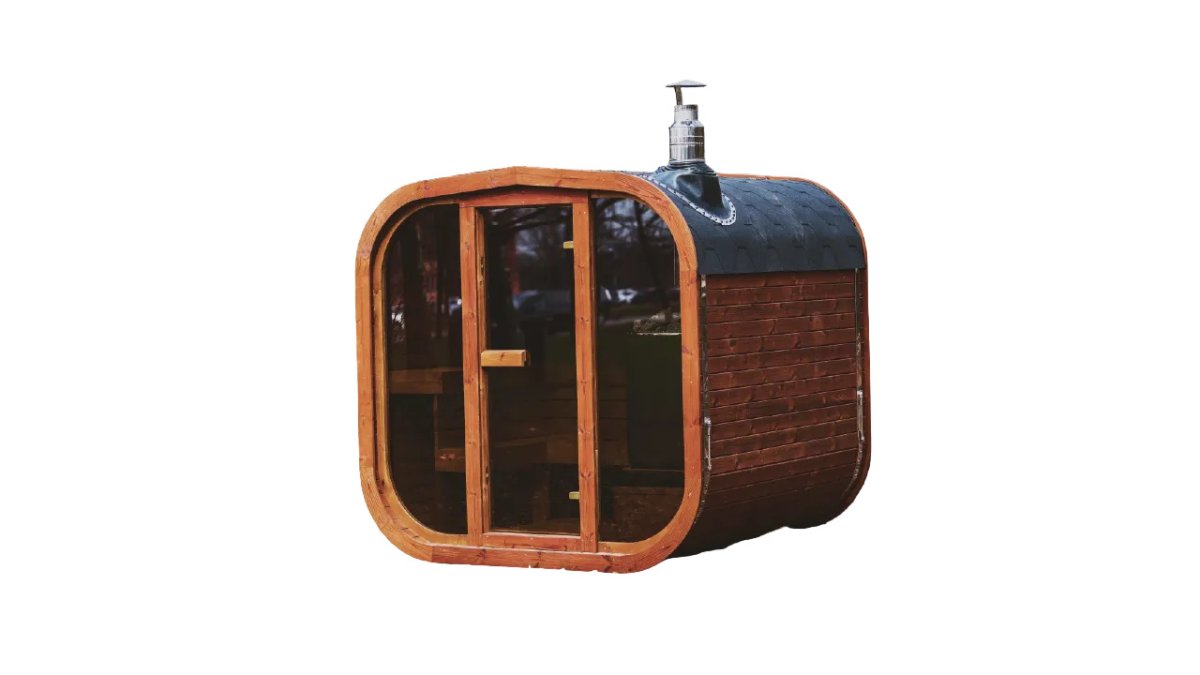
The physics of winter sauna use comes down to one principle: heat rises, and cold air rushes in to replace it. Thermal insulation is your best friend. High-quality saunas, such as those constructed from ThermoWood, are designed with this in mind. ThermoWood is heat-treated to resist warping and moisture, which helps maintain a tight seal and consistent internal temperatures even when the outdoor environment is harsh.
The R-value measures thermal resistance; the higher the number, the better the material resists heat flow. In a cold climate, sauna walls typically benefit from insulation rated between R-13 and R-21 (energystar.gov). A common assembly includes a vapor barrier on the warm side of the wall, a layer of fiberglass or mineral wool batts, and a reflective foil facing that radiates heat back into the room.
The weakest points in any sauna envelope are not the walls but the transitions: the door frame, the vent openings, and the joints where wall panels meet. In freezing temperatures, even a small gap can create a convection loop where warm air escapes and cold air is drawn in. A simple test is to run your hand along the door seal on a windy day; if you feel a draft, you have found a problem. Replacing worn gaskets or adding a threshold seal can dramatically improve thermal efficiency.
The thermal mass of the interior also matters. In winter, wooden benches and walls act as a heat sink, absorbing energy before the air stabilizes. Some owners add reflective insulation behind the benches to keep more warmth in the air.
Moisture control is equally important. Condensation forms when warm, humid air meets cold surfaces, and over time, this can affect the structural integrity of the wood. Proper ventilation is not the enemy of heat retention; a small, strategically placed vent allows moisture to escape without letting all the warmth out. Many owners find that opening the vent briefly after a session, rather than during it, strikes the right balance.
| Insulation Component | Typical R-Value | Role in Winter Performance |
|---|---|---|
| Fiberglass batts | R-13 to R-21 | Primary thermal barrier in wall cavity |
| Reflective foil facing | R-3 to R-8 (added) | Radiant heat reflection back into room |
| Vapor barrier | Not rated | Prevents moisture from degrading insulation |
| ThermoWood or cedar cladding | R-1 per inch | Natural resistance to thermal transfer and moisture |
Understanding these layers helps you evaluate a sauna's winter readiness before you buy. When comparing models, ask about the wall assembly and the specific insulation materials used. A sauna that performs well in mild weather may struggle in sub-zero conditions if the insulation package is thin or the vapor barrier is missing. Investing in a properly insulated structure is an effective way to ensure your outdoor sauna remains a warm sanctuary all winter long.
Sauna Session Duration for Beginners: What to Expect
If you are new to sauna bathing, winter changes the rules slightly. Sauna session duration for beginners should start conservatively, around 10 to 15 minutes (the CDC). The contrast between cold air and high heat can be taxing, so listen to your body and exit before you feel overheated.
Start with a shorter session, cool down gradually, then re-enter for a second round. Between rounds, allow your body to normalize with a brief cool shower or a few minutes in the cold air. The goal is to feel refreshed, not exhausted.
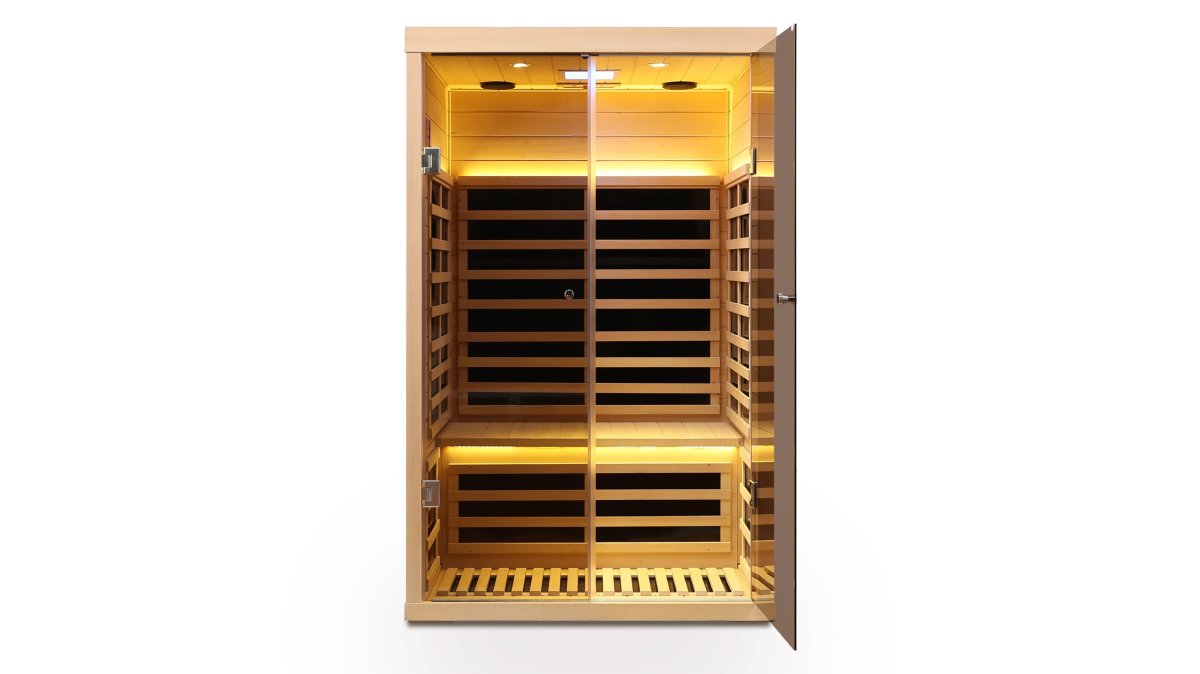
For those using an infrared sauna, the experience is gentler. Infrared heat warms the body directly rather than heating the air, which means sessions can often be extended comfortably. As you build tolerance over several weeks, you can gradually increase your time, but there is no need to push for longer sessions just because the sauna is available.
The Benefits of Home Infrared Sauna Therapy in Cold Weather
The benefits of home infrared sauna therapy are valuable in winter. Unlike traditional saunas that heat the air, infrared saunas use radiant heat to warm your body directly, allowing a deeper sweat at lower ambient temperatures.

Having this option at home means you do not need to brave the cold to visit a gym or spa. The convenience of a warm, private space in your backyard encourages consistency, where wellness benefits accumulate. Regular use is associated with stress reduction and muscle recovery.
Because the air temperature is lower than in a traditional sauna, infrared heat can feel more accessible for those who find intense heat overwhelming. The key is finding the heat source that aligns with your comfort level.
Managing Snow Load and Structural Integrity
Heavy snowfall can place significant stress on a sauna roof. Snow load is the weight of accumulated snow pressing down on the structure, and dense, wet snow can be surprisingly heavy. Most professionally built saunas handle this, but it is wise to be proactive.
After a significant storm, gently remove snow from the roof using a soft-headed roof rake. Avoid using sharp metal shovels that can scratch or gouge the wood surface. Pay particular attention to the area around the chimney or vent pipe, where snow and ice can create a dam that blocks proper exhaust.
Frost heave is another winter concern. This occurs when moisture in the ground freezes and expands, potentially shifting the sauna's foundation. Ensuring your sauna sits on a properly prepared base, such as a concrete pad or compacted gravel, minimizes this risk. Checking the level of the sauna structure in early spring can help you catch any movement before it becomes a problem.
Essential Outdoor Sauna Winter Maintenance Tips
Outdoor sauna winter maintenance tips revolve around protecting the structure from the elements while ensuring it remains ready for use. The wood exterior is your first line of defense. While ThermoWood and cedar are naturally resistant to moisture, a periodic application of a protective wood oil can help maintain the finish and prevent drying or cracking.
The sauna stove requires attention as well. For wood-burning models, remove ash after every few uses to ensure proper airflow and efficient burning. For electric heaters, check the stones periodically. Over time, heating stones can crack from thermal stress and should be replaced to maintain even heat distribution.
Condensation management is a year-round task that becomes more critical in winter. After each session, leave the door open for a few minutes to allow humid air to escape. This simple habit prevents moisture from being trapped against the wood, which over time can lead to mold or mildew. A small, dry towel left inside to absorb residual moisture is a practical trick used by many owners.
Post-Sauna Rituals: Cold Plunges and Recovery
The transition from a hot sauna to a cold plunge is a ritual many enthusiasts swear by, but safety comes first. The thermal shock of near-freezing water after intense heat causes rapid changes in heart rate and blood pressure. If you have cardiovascular concerns, consult a qualified healthcare professional before attempting this.
Understanding this transition helps you approach it with respect. Stepping from a 180-degree sauna into 40-degree water causes vasoconstriction, forcing blood toward your core and spiking blood pressure. Your heart rate can increase by 20 to 30 beats per minute. For healthy individuals this is manageable; for those with underlying conditions, it can be dangerous.
Cold water triggers an involuntary gasp reflex, so entering gradually and keeping your head above water is critical. The initial shock also increases breathing rate; focusing on slow, controlled exhales helps your nervous system regulate.
Start gradually. Cool down in the open air for a few minutes before entering cold water. Keep the initial immersion brief, around 30 seconds to one minute, and focus on steady breathing.
Contrast therapy is well regarded among athletes and wellness enthusiasts for improving circulation and reducing muscle soreness. The key is to move slowly, respect your body's signals, and never rush the transition.
Most practitioners recommend waiting 10 to 15 minutes after leaving the sauna before entering cold water, allowing your core temperature to normalize. Some take a brief warm shower first. If you feel dizzy or fatigued, skip the plunge and end with a warm shower and rest.
For those new to contrast therapy, start with a cool outdoor shower or a brisk rubdown with snow rather than full immersion. As your body adapts, you can progress to a cold plunge. The goal is not endurance but a routine that leaves you refreshed and grounded.
Frequently Asked Questions
How long should you preheat an outdoor sauna in the winter?
In freezing temperatures, plan for a longer pre-heating time than you would in milder weather. A traditional wood-burning sauna may need 60 to 90 minutes to reach your desired temperature when it is below freezing. Infrared saunas warm up faster, often within 30 to 45 minutes, but the ambient temperature will still affect the time. Start with a thermometer inside the sauna to know exactly when it has reached the ideal heat for your outdoor sauna winter session.
Does cold weather affect the efficiency of an infrared sauna?
Yes, cold weather can impact the efficiency of an infrared sauna, though less so than a traditional sauna. Infrared heaters warm your body directly rather than the air, which helps in colder conditions. However, the cold ambient temperature will cause more heat loss through the sauna's walls and any uninsulated areas. Good thermal insulation and weatherproofing are key. Ensure your sauna is well-sealed to maintain consistent temperatures and manage energy consumption effectively during winter.
What are the best practices for maintaining a sauna during winter?
Following outdoor sauna winter maintenance tips is crucial. First, manage snow accumulation on the roof to prevent structural load issues. Second, ensure proper ventilation to control condensation and moisture, which can lead to mold. Third, check the seals around the door for drafts. Finally, protect the wood with a suitable weatherproofing treatment before winter begins. These steps will help preserve your sauna's structural integrity and thermal efficiency through the coldest months.
Can you combine cold plunges with winter sauna sessions?
Yes, many people enjoy the contrast of a cold plunge after a warm sauna session, especially in winter. This practice can enhance circulation and aid in recovery. Always listen to your body. The thermal shock can be intense, so start with a brief dip. If you have any medical concerns, consult a qualified healthcare professional before trying this. Have warm, dry clothing ready and a safe, non-slip path back inside to ensure a safe and comfortable experience.